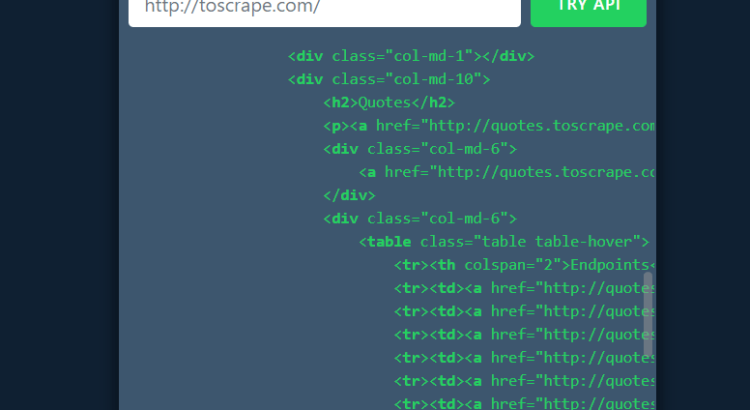
Web Scraping (also known as data mining or data extraction) is a technique to fetch the data from the web pages. The technique is used by many businesses to get the useful data from other websites to use in their businesses.
The web scraping can be handled manually but it’s not so easy. There are so many limitations to pass the process to get the data. Due to the limitations, automated processes are run through bots or crawlers to scrape the data from web pages.
So if you’re running a business or a programmer and looking for the solutions to scrape the data from web pages, then you’re here at the right place. In this tutorial you will learn how to scrape the data from websites with Zenscrape API using PHP. You can also integrate the API with other programming languages like Python, Nodejs, Go, Ruby etc.
Also, read:
- Scraping Review Data using ReviewAPI with PHP
- Scrape SERP Data with SerpStack API using PHP
- Scraping Review Data using ReviewAPI with PHP
- Search Result Scraping with Zenserp API using PHP
- Web Scraping with Real-Time ScrapeStack REST API using PHP
The Zenscrape API provides hassle free data extraction solution to scrape the data from web pages into your desired format. Even a non technical can easily scrape the data without writing a single line of code with their visual web scraper. The Zenscrape API is smart enough as it’s rotates each request with different IP from all over the world and return valid results only.
We will cover this tutorial step by step to integrate Zenscrape API with PHP to scrape the data from website.
Step1: Get Zenscrape API Key
First we need to sign up for free to create account and get the API KEY from user dashboard API section.
We will use API Key for the authentication to make HTTP GET request to Zenscrape API.
https://app.zenscrape.com/api/v1/get?apikey=APIKEY
Step2: Build Search Query with Parameter
We will create search query with the parameters needs to scrape data. We will pass url parameter with the website from which we want to scrape the data. The url parameter is the required parameter. There can be other parameters optional parameter such location, render and premium parameters.
<?php
$searchQuery = [
	'url' => 'http://example.com',
	'render' => '1',
	'premium' => '',
	'location' => 'eu',
];
?>
Step3: Make HTTP Request to Zenscrape API
We will make HTTP get request to the Zenscrape API using PHP Curl library. We will pass search query that have needed parameters to scrape data. We will also store API Key into a variable and pass with HTTP request for the request authentication. Finally we will get the scrape data response and stored into $response variable.
<?php

$apiKey = 'YOUR_API_KEY';

$ch = curl_init();

curl_setopt($ch, CURLOPT_RETURNTRANSFER, true);
curl_setopt($ch, CURLOPT_HEADER, false);

curl_setopt($ch, CURLOPT_URL, 'https://app.zenscrape.com/api/v1/get?' . http_build_query($searchQuery));

curl_setopt($ch, CURLOPT_HTTPHEADER, array(
	"Content-Type: application/json",
	"apikey: $apiKey",
));

$response = curl_exec($ch);
curl_close($ch);

?>
Step4: Decode Response Data and Display
We will decode the scrapped response JSON data using PHP json_decode() function and stored into $resultData variable. We will use the stored $resultData for further use.
<?php

$resultData = json_decode($response);
var_dump($resultData);

?>
Step5: Complete code to scrape data using Zenscrape API
Here is the complete code to scrape the data from website using Zenscrape API with PHP.
<?php

$apiKey = 'YOUR_API_KEY';

$searchQuery = [
	'url' => 'http://example.com',
	'render' => '1',
	'premium' => '',
	'location' => 'eu',
];

$ch = curl_init();

curl_setopt($ch, CURLOPT_RETURNTRANSFER, true);
curl_setopt($ch, CURLOPT_HEADER, false);

curl_setopt($ch, CURLOPT_URL, 'https://app.zenscrape.com/api/v1/get?' . http_build_query($searchQuery));

curl_setopt($ch, CURLOPT_HTTPHEADER, array(
	"Content-Type: application/json",
	"apikey: $apiKey",
));

$response = curl_exec($ch);
curl_close($ch);

$resultData = json_decode($response);
var_dump($resultData);

?>
Step6: Conclusion
In this tutorial we have explained how to consume the Zenscrape API with PHP to scrape the data from web pages. You can also try the visual web scraper from Zenscrape API to scrape the data for free by creating your account. You can checkout the documentation for more options and details.
You may also like:
- Get Geolocation Data with IPWHOIS.IO API
- IP Geolocation API Integration with PHP
- Geocoding using Positionstack API with PHP
- Get Real-time Flight Data using Aviationstack API with PHP
- User Agent Lookup using Userstack API with PHP
- Reverse IP Lookup using ipapi with PHP
- Weather Data with Weatherstack API using PHP
- Website Visitors IP Lookup with IPStack API using PHP
