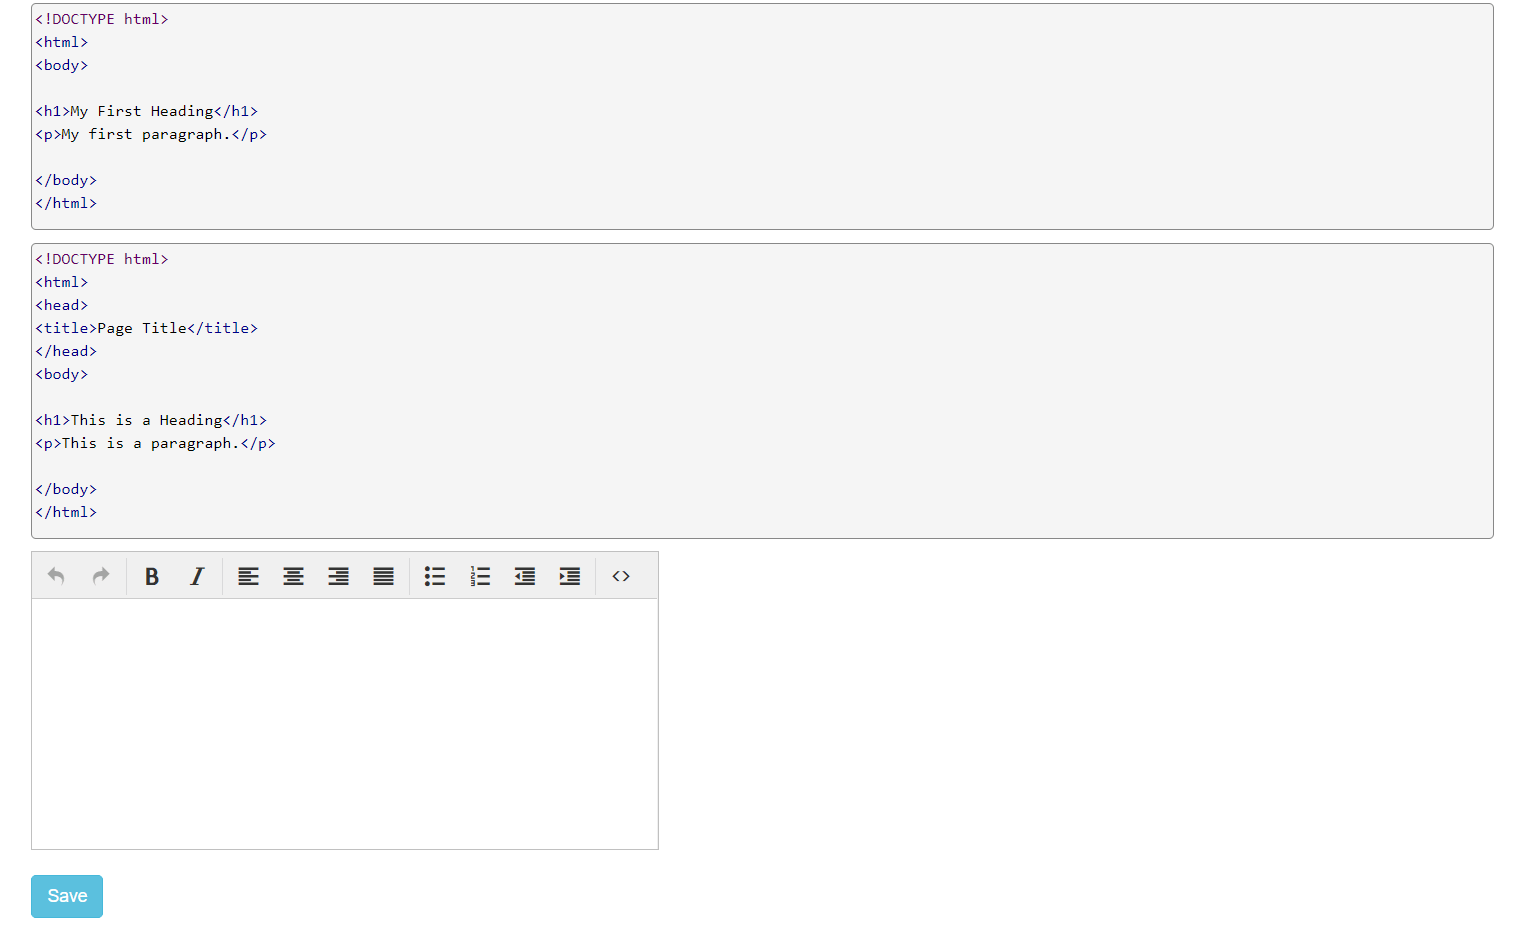
Programming languages code is saved into database and displayed on web pages to allow users to read the codes. The concept is used in tutorial websites where code from different languages such as HTML, PHP, JavaScript etc. saved and displayed.
Generally, we store same content to the database but when store HTML or code with tags then we need to encode the content to HTML entities to store to the database. We also need to decode the html entities display back the code.
Also, read:
So if you’re developing a website to save and display code and looking for solution then you’re here at the right place. In this tutorial, you will learn how to save and display code with PHP and MySQL.

We will cover this tutorial step by step with live demo to store the code to the database and display.
So we will proceed with the code. The major files for this is follows.
- index.php
- tinymce_editor.js
- Code.php
Step1: Create MySQL Database Table
First we will create MySQL database table code to store the code. We will use the below table create query to create the table.
CREATE TABLE `code` (
  `id` int(11) NOT NULL,
  `message` mediumtext NOT NULL
) ENGINE=InnoDB DEFAULT CHARSET=latin1;

ALTER TABLE `code`
  ADD PRIMARY KEY (`id`);

ALTER TABLE `code`
  MODIFY `id` int(11) NOT NULL AUTO_INCREMENT;
Step2: Include Bootstrap, JavaScript, CSS Files
We will include Bootstrap file as we handle design with Bootstrap. We will include TinyMCE JavaScript file to create advance editor with textarea. We will also include run_prettify.js JavaScript file to display code with CSS.
<link rel="stylesheet" href="https://maxcdn.bootstrapcdn.com/bootstrap/3.3.5/css/bootstrap.min.css">
<script src="tinymce/tinymce.min.js"></script>
<script src="js/tinymce_editor.js"></script>
<script src="https://cdn.jsdelivr.net/gh/google/code-prettify@master/loader/run_prettify.js"></script>
Step3: Create Form with Advance Textarea Editor
We will design HTML form with textarea to create TinyMCE WYSIWYG HTML editor.
<div class="container">
	<div class="row">
		<form method="post" action="">
			<textarea name="content"></textarea><br>
			<button type="submit" name="save" class="btn btn-info">Save</button>
		</form>
	</div>
</div>
In tinymce_editor.js, we will initialize TinyMCE editor with properties to load TinyMCE editor using Textarea.
tinymce.init({
	selector: "textarea",
	plugins: [
		"code ",
		"paste"
	],
	toolbar: "undo redo | bold italic | alignleft aligncenter alignright alignjustify | bullist numlist outdent indent | link code ",
	menubar:false,
    statusbar: false,
	height: 200,
	width:500
});
Step4: Save Code to Database Table
When form submitted, we will insert the code the database table by calling insert() method from Code.php class. We will encode the HTML to entities using htmlentities() PHP function.
<?php

$code = new Code($db);
$code = new Code($db);
if(!empty($_POST['content']) && $_POST['content']) {
	$code->message = htmlentities($_POST['content']);
	$code->insert();
}

?>
In class Code.php, we will create method insert() to save the code to the database.
<?php

public function insert(){

	if($this->message) {

		$stmt = $this->conn->prepare("
			INSERT INTO ".$this->codeTable."(`message`)
			VALUES(?)");

		$stmt->bind_param("s", $this->message);

		if($stmt->execute()){
			return $stmt->insert_id;
		}
	}
}

?>
Step5: Display Code
We will get the code from database by calling the method getPost() from class Code.php. We will decode the HTML entities by calling html_entity_decode() function from PHP. We will use class prettyprint to display code with css and style.
<?php

$result = $code->getPost();
while ($row = $result->fetch_assoc()) {
	echo "<div><pre class='prettyprint'>".html_entity_decode($row['message'])."</pre></div>";
}

?>
We will create method getPost() in class Code.php to get data from MySQL database table.
<?php

public function getPost(){
	$sqlQuery = "
		SELECT id, message
		FROM ".$this->codeTable." ORDER BY id DESC";

	$stmt = $this->conn->prepare($sqlQuery);
	$stmt->execute();
	$result = $stmt->get_result();
	return $result;
}

?>
You may also like:
- Build Live Chat System with Ajax, PHP & MySQL
- Create Event Calendar with jQuery, PHP and MySQL
- Build Invoice System with PHP & MySQL
- Push Notification System with PHP & MySQL
- Create Bootstrap Cards with PHP and MySQL
- Build Content Management System with PHP & MySQL
- Convert Unix Timestamp To Readable Date Time in PHP
- Ajax Drop Down Selection Data Load with PHP & MySQL
- Inventory Management System with Ajax, PHP & MySQL
- Drag and Drop File Upload using jQuery and PHP
- Load Dynamic Content in Bootstrap Popover with Ajax, PHP & MySQL
You can view the live demo from the Demo link and can download the script from the Download link below.
Demo Download

Hello PHPZAG i want to ask, apart from tinymce editor can i use any online text editors like Ckeditor, markitup etc… to replace the default one?
Yes, you can use any of online text editor. Thanks!