
In our previous tutorial, you have learned How to Use Github Copilot in VS Code. In this tutorial, we will explain how to install CodeCursor extension in VS Code and use it.
The AI extensions are very useful and designed to improve the efficiency and accuracy of your coding. These provides enhanced way for code generation and inline chat to write code.
What is CodeCursor?
The CodeCursor is an AI powered extension from Cursor for VS Code based on OpenAI GPT models. It is a coding assistant that allows to interact with code using natural language.
The CodeCursor extension is designed to integrate AI assistance directly into your coding workflow. It allows you to have an interactive chat with AI while navigating your codebase, offering Code Completion & Suggestions, Code Explanations, Refactoring & Debugging and Seamless Integration.
How to Install CodeCursor extension in VS Codes
To install extension, justt open Visual Studio Code and go to the Extensions. Search for “CodeCursor” in the search bar.
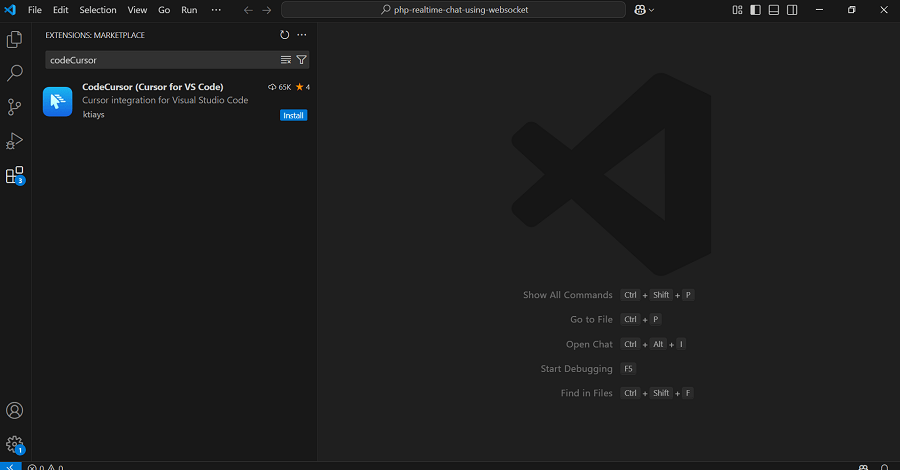
Click on “Install” button to complete installation. Then restart your Visual Studio Code.
How to Use CodeCursor in VS Code
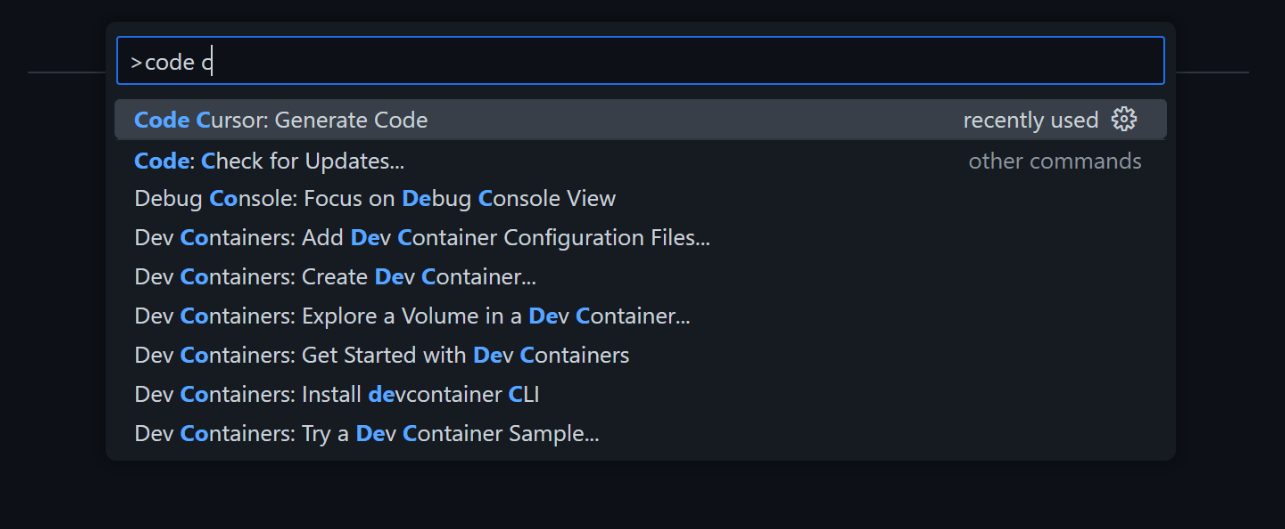
You can use code generation feature of CodeCursor to generate code. Just open a document and type CodeCursor in Command Palette. You will see the command below:
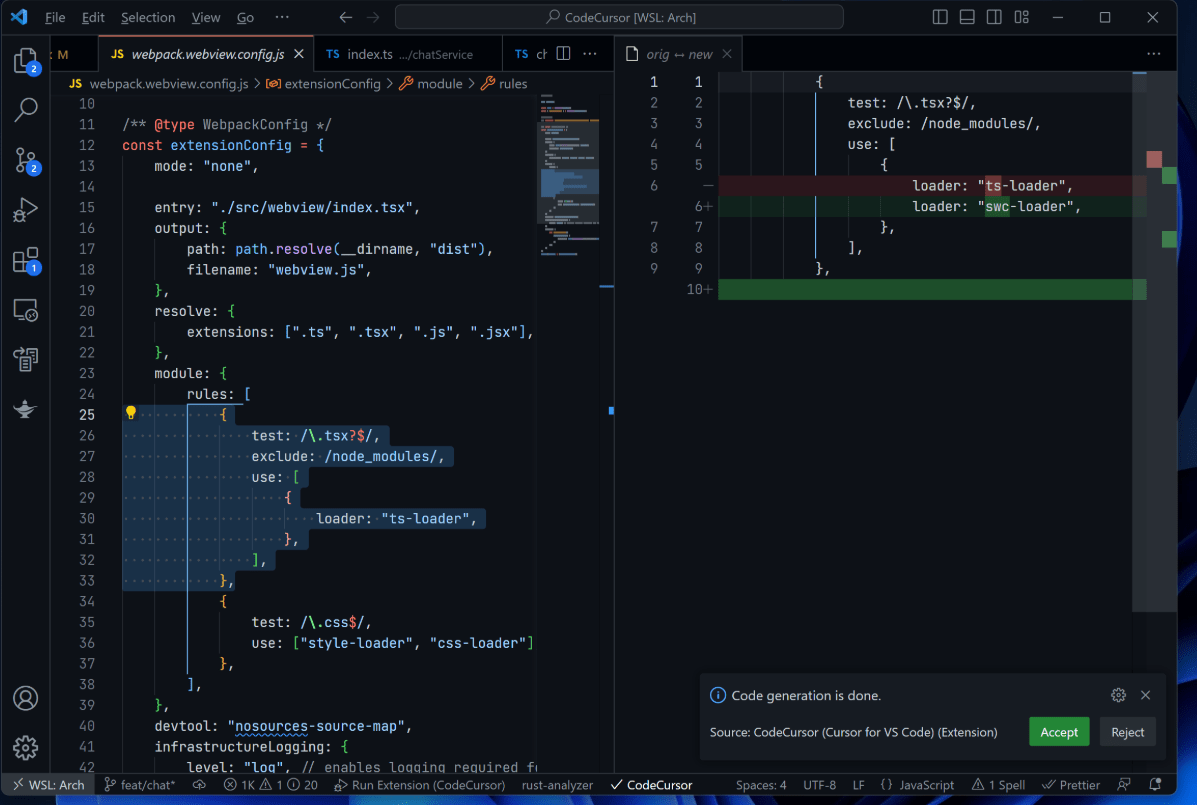
Just type your prompt and the code generation will start. To edit existing code, you can also select any text before performing this command. When accepting the change, the selected code will be replaced with the generated new code.
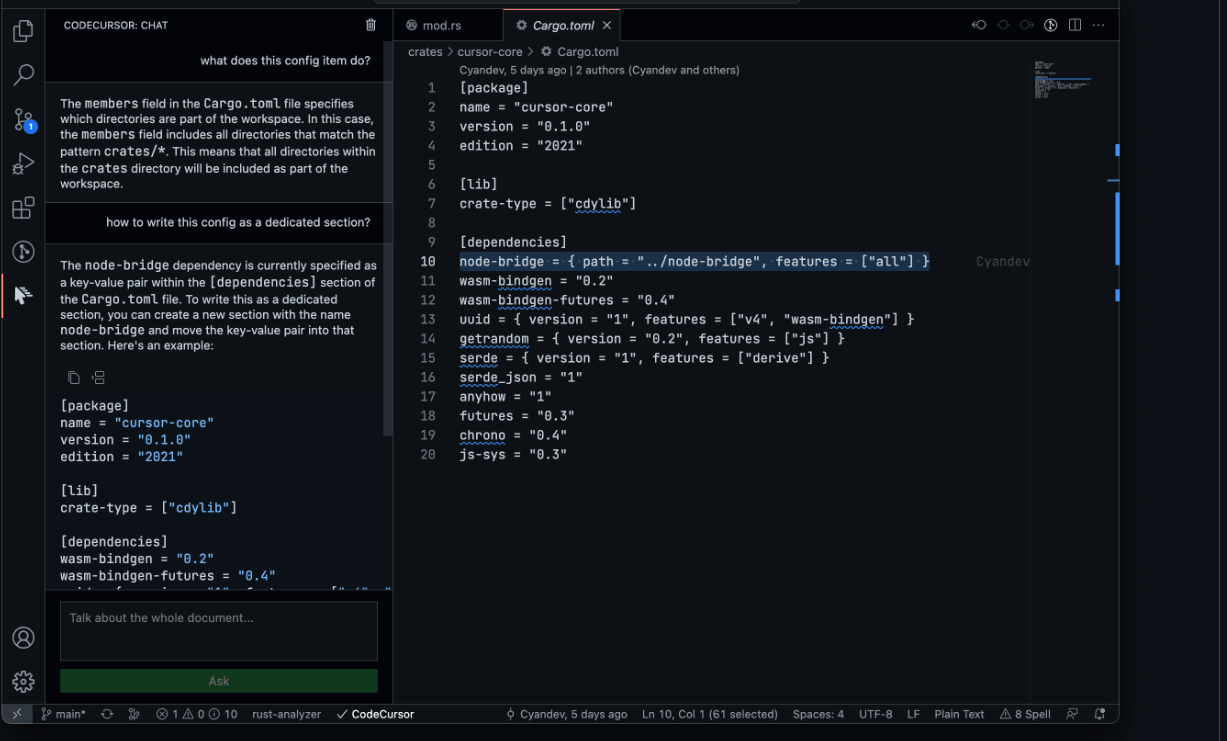
The CodeCursor also provides feature to chat with your code. Just click on “CodeCursor” icon on the Activity Bar and you can ask questions about the currently opened document or a selected code.
Conclusion
In this tutorial, you leaned about using CodeCursor extension in VS Code. You can also search try other AI extensions in VS Code to speedup your coding and productivity. Don’t forget to share in comment if get any. Thanks!